
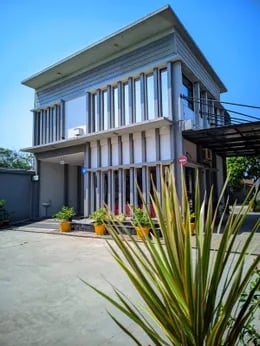
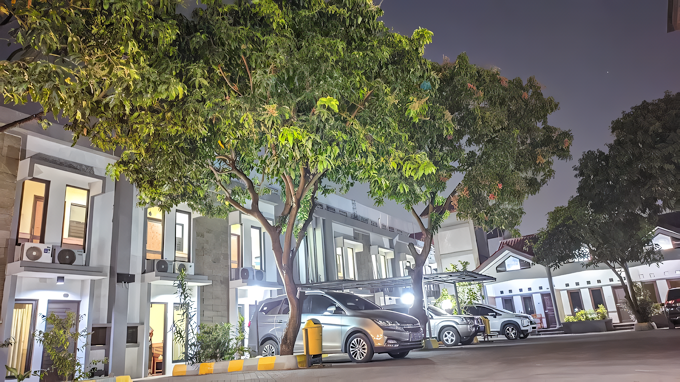
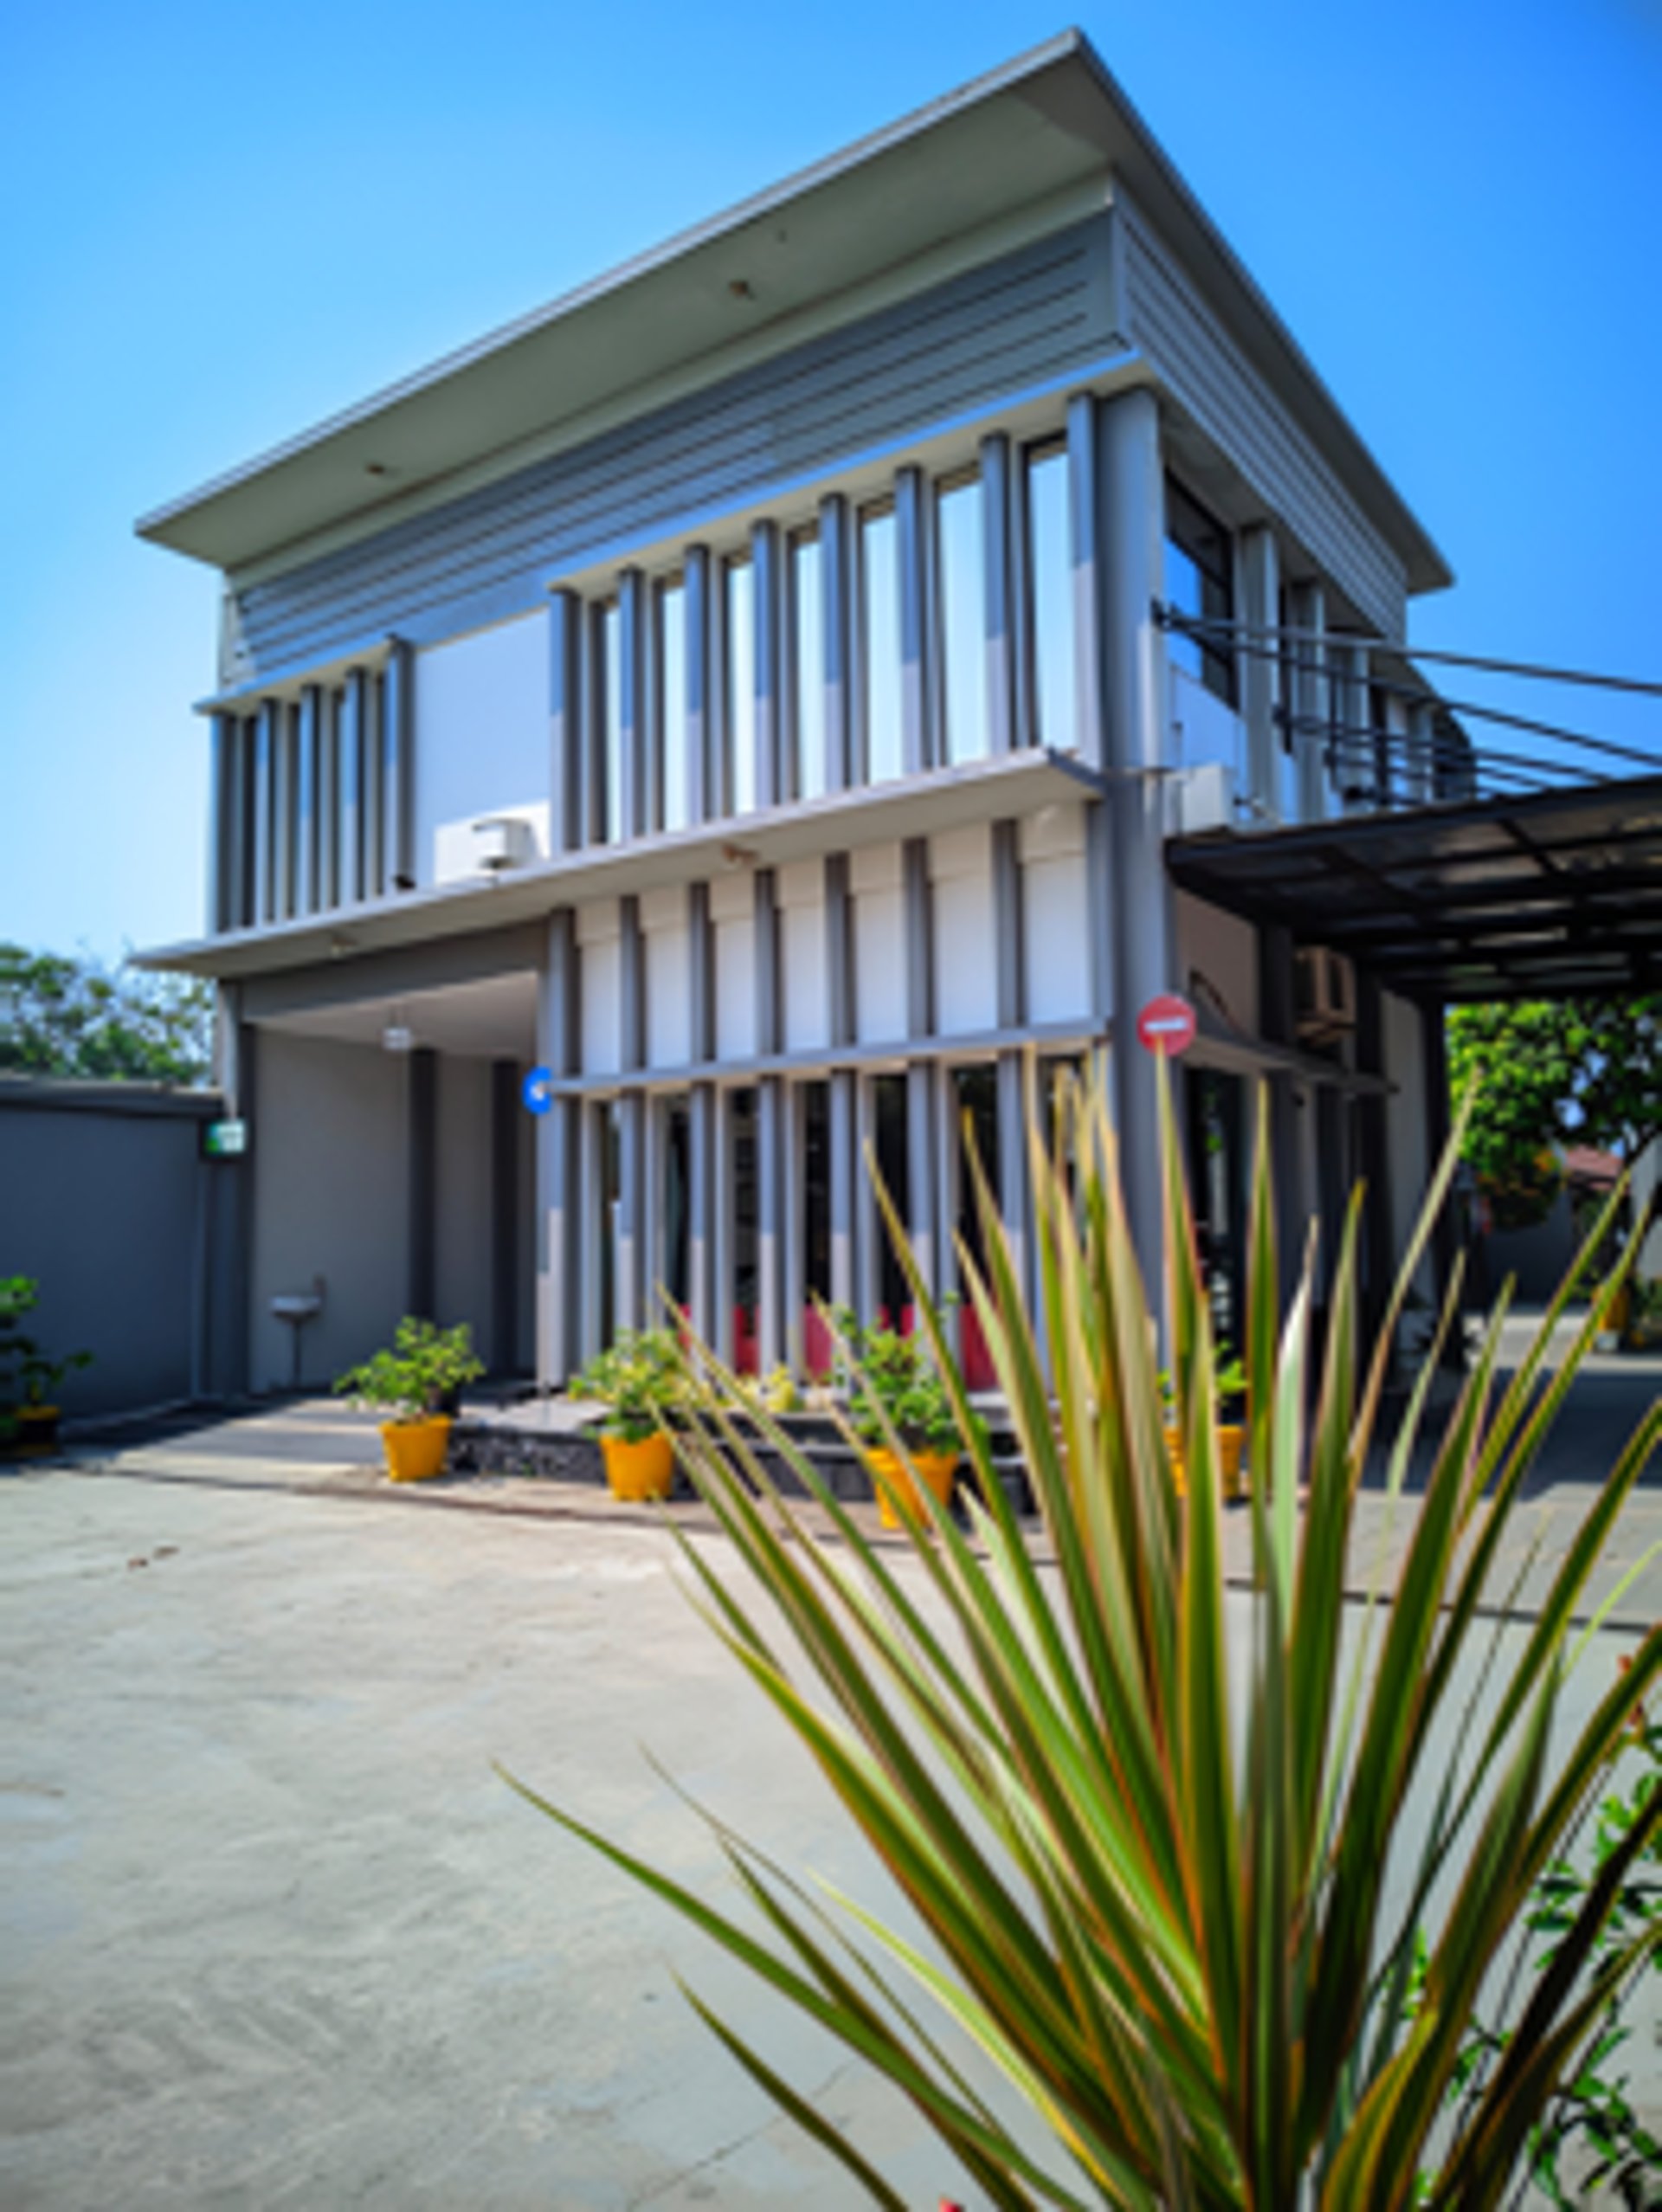
Hotel Grand Pangestu
Hotel Bintang 3 Terbaik di Karawang Timur.
Nikmati pelayanan ramah dan suasana seperti di rumah sendiri bersama kami.
Tentang Hotel Grand Pangestu
Hotel Grand Pangestu menawarkan akomodasi nyaman dan terjangkau. Dengan fasilitas lengkap seperti AC, Wi-Fi gratis, restoran 24 jam, dan layanan resepsionis 24/7, kami siap memenuhi kebutuhan Anda. Tersedia berbagai tipe kamar mulai dari Standar hingga Suite, cocok untuk perjalanan bisnis maupun liburan keluarga. Lokasi strategis kami memudahkan akses ke pusat perbelanjaan dan destinasi wisata lokal. Nikmati pelayanan ramah dan suasana seperti di rumah sendiri bersama kami.

Fasilitas Hotel
Hotel Grand Pangestu menawarkan kenyamanan dan akses mudah ke berbagai tempat menarik di Karawang.
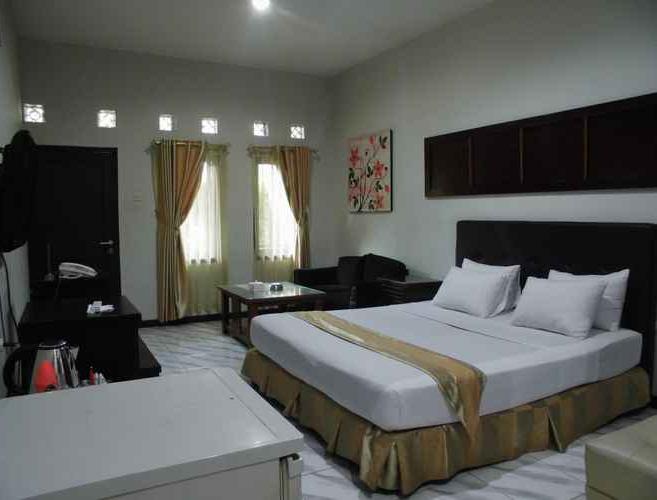
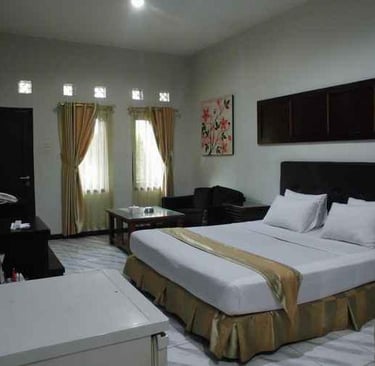
Kamar yang Nyaman
Temukan kenyamanan di setiap sudut kamar kami. Dari Standar hingga Suite, semua dirancang untuk istirahat terbaik Anda

Ruang Meeting Lengkap
Ruang meeting nyaman, fasilitas lengkap, dan layanan terbaik. Solusi sempurna untuk rapat, seminar, atau pelatihan Anda.
Nikmati kemudahan merencanakan pernikahan Anda dengan paket lengkap kami. Fasilitas modern dan layanan profesional kami siap mendukung setiap detail acara Anda.
Paket Pernikahan Beragam


Restaurant
Dari sarapan hingga makan malam, nikmati ragam cita rasa yang memanjakan lidah di Restoran Hotel Grand Pangestu


Udah seminggu lebih menginap disini, sukak bgt sm pelayanan n kebersihannya, harganya pun sgt terjangkau dan lokasinya strategis bgt utk sy yg lagi kerja di rest area KM 57 deket bgt, makanan di restonya recomended bgt nasi timbelnya paketnya lengkap harganya jg gk mahal, minusnya cuma suka ada cicak msk aja ke kamar nya mknya sering mnta tlg room boy utk semprot baygon hahaha ahh pokoknya sukak bgt nginep disini 🤩 Next th dpn jika ada event disini lg bakal singgah disini lg
Ransky

Kamar bagus dengan harga juga sangat terjangkau. Yang lebih mengesankan adalah pelayanan profesional dan sangat membantu dari resepsionisnya. Saya menginap di sini dan salah memesan tanggal online. Mereka bersedia membantu pengembalian dana saya dengan Tiket.com hingga proses selesai. Sangat recommended. Sukses selalu Grand Pangestu
Edbert Jahnsenn

★★★★★
★★★★★
Hotel Grand Pangestu
Jl. Raya Klari Kosambi No. 9 Ds. Duren, Kec. Klari, Kab. Karawang, Jawa Barat 41371
Frontdesk 24/7
get in touch
(0267) 8617920
62 81574145590
info@hotelgrandpangestu.com
hotelgrandpangestu_mkt@yahoo.co.id
Hotel Grand Pangestu © 2025. All rights reserved.